Wednesday 12 November 2014

golden cherubs


Hello! Today I am sharing another canvas I have made following the Mixed Media Studio online course. This is for the third week and is led by Frank Garcia.

I have started my canvas with a layer of vellum and then added some texture with texture paste through a stencil and sprinkled some clear rock candy glitter onto it whilst it was still wet. I then embossed some stars on and added some Mustard Seed Distress Glitter.


I stamped the image: La Blanche ~ Angels with Trumpets with Metallic Gold StazOn ink onto a piece of gessoed canvas.

The little golden baubles are just decorations from old Christmas crackers. I always keep them, just in case I can use them!


The flowers were die cut from a Spellbinders ~ Layered Poinsettia die.


I am entering this into the following challenges:
Thank you for looking.

Keeley

Friday 7 November 2014

vocal beauties from the operas


Good morning! Our challenge this week at Crafts 4 Eternity is to add lace and/or ribbon.

I have made an album with Marion Smith Designs ~ Mad Tea Party papers as my base. I've added an acetate by Glitz, which I machine stitched along the sides.

Along the bottom I added a strip of wide lace.

I made a tag from the papers and added some washi tape and a metal brad. The clock was diecut from the Marion Smith Designs ~ Mad Tea Party papers using my Tim Holtz Sizzix Pocket Watch die. Any coincidence they match perfectly?


Some luscious Prima flowers to co-ordinate with the golden roses and green leaves on the acetate, finish it off.

To the other side I added some crocheted doilies. Not having the right shade of yellow, I sprayed a pale yellow doily with Dylusions ink. The green doily was the right colour and I just added some glitter to each, to match the flowers.

 
Thank you for looking.

Keeley

Sunday 2 November 2014

Mixed Media Abstract Canvas


Hi, today I am sharing an abstract mixed media canvas I made, following an online class at Mixed Media Studio. The first class is taught by Donna Downey.


I must admit, I don't think abstract art is my thing. It doesn't really mean anything too me. I feel like it is just a base and I want to add something to it, a girl or something. So expect to see it again in an altered form!

Having said that, I did enjoy the process of creating it and I learned a few new techniques.

Some close ups.


I've added texture with a Tim Holtz stencil. The black is either Liquitex Ink sprayed on or black paint dabber.


I've added colour with Faber-Castell Gelatos and more texture with Prima white sand texture paste.


Thank you for looking.

Keeley
Friday 24 October 2014

October 31 halloween mixed media canvas


Good morning! Today we have a HALLOWEEN themed challenge starting at Crafts 4 Eternity.

I have made a mixed media canvas.


The witch I cut out freestyle and her hat was made from a Tim Holtz Blueprint stamp. Her legs drape over the bottom edge of the canvas.


The fence on the right is a Memory Box~ Estate Fence die.


The 31 is a Sizzix die.


The spiders web was made with a Memory Box ~ Haunted Webs die. The spiders are stickers that I had in my stash.

The pumpkins up the left hand side were made with Rusty Pickle papers.


I've made a YouTube video, which goes into more details of the products that I used to build up the layers on this.

I am entering this in at the following challenges:
Thank you for looking.

Keeley  

Friday 17 October 2014

creepy crawly chilling thrilling HALLOWEEN

Good morning! This week at Crafts 4 Eternity our theme is creepy crawlies.

I've made another mixed media canvas.


I've got lots of layers on this: Gesso, Dylusions ink (cut grass), liquitex ink (vivid lime green),  crackle paste through a stencil, clear tar gel through a stencil, some stamping and rub ons. Phew! And that's just for starters.

The words: creepy crawly chilling thrilling Halloween, were part of an old stamp. I just stamped out the words and then cut them up.

The spiders webs are a Memory Box die which I die cut five times and placed around the canvas, wrapping them around the edges in places. The spiders were little stickers I had in my stash.


I am entering this in at the following challenges:
Thank you for looking.

Keeley

Friday 10 October 2014

watch out for spooks


Good morning! Today at Crafts 4 Eternity, we have a new challenge which is to use a harvest theme or element.

I have made a mixed media canvas with pumpkins. I used one of the workshops on Christy Tomlinson's Pumpkins and Cider course as my inspiration.


For the spider's web I used the Tim Holtz ~ Shatter stencil with Prima 3D Gloss Gel.


The leaves are by Prima and I sprayed Dylusions ink on them and scrunched them up a bit.


I am entering this in at the following challenges:
Thank you for looking.

Keeley

Friday 3 October 2014

keep out ... mixed media door hanger


Hello! This week at Crafts 4 Eternity the challenge is to use three elements beginning with the same letter. I have: white, wood and words!

I choose to decorate a wooden doorhanger.


I started off with by covering the hanger with a layer of patterned paper, covered part of it with a doily and then got to work with stencils, paint and ink.


Then I used a Tim Holtz Halloween blueprint, which I stamped out several times on the same patterned cardstock which I had used as my base. I cut a few layers and layered it up.

Finally I added some words with a few stickers, which I distressed up a bit.


I am entering this in at the following challenges:
Thank you for looking.

Keeley

Friday 26 September 2014

Tim Holtz Collection Folio & Simple Stories Documented


Good morning! Today we have a new challenge at Crafts 4 Eternity, which is to use a camera or photo theme or element. I have gone with a photo theme and created an album using a large Tim Holtz Collection Folio.

Warning: this is a picture heavy post.


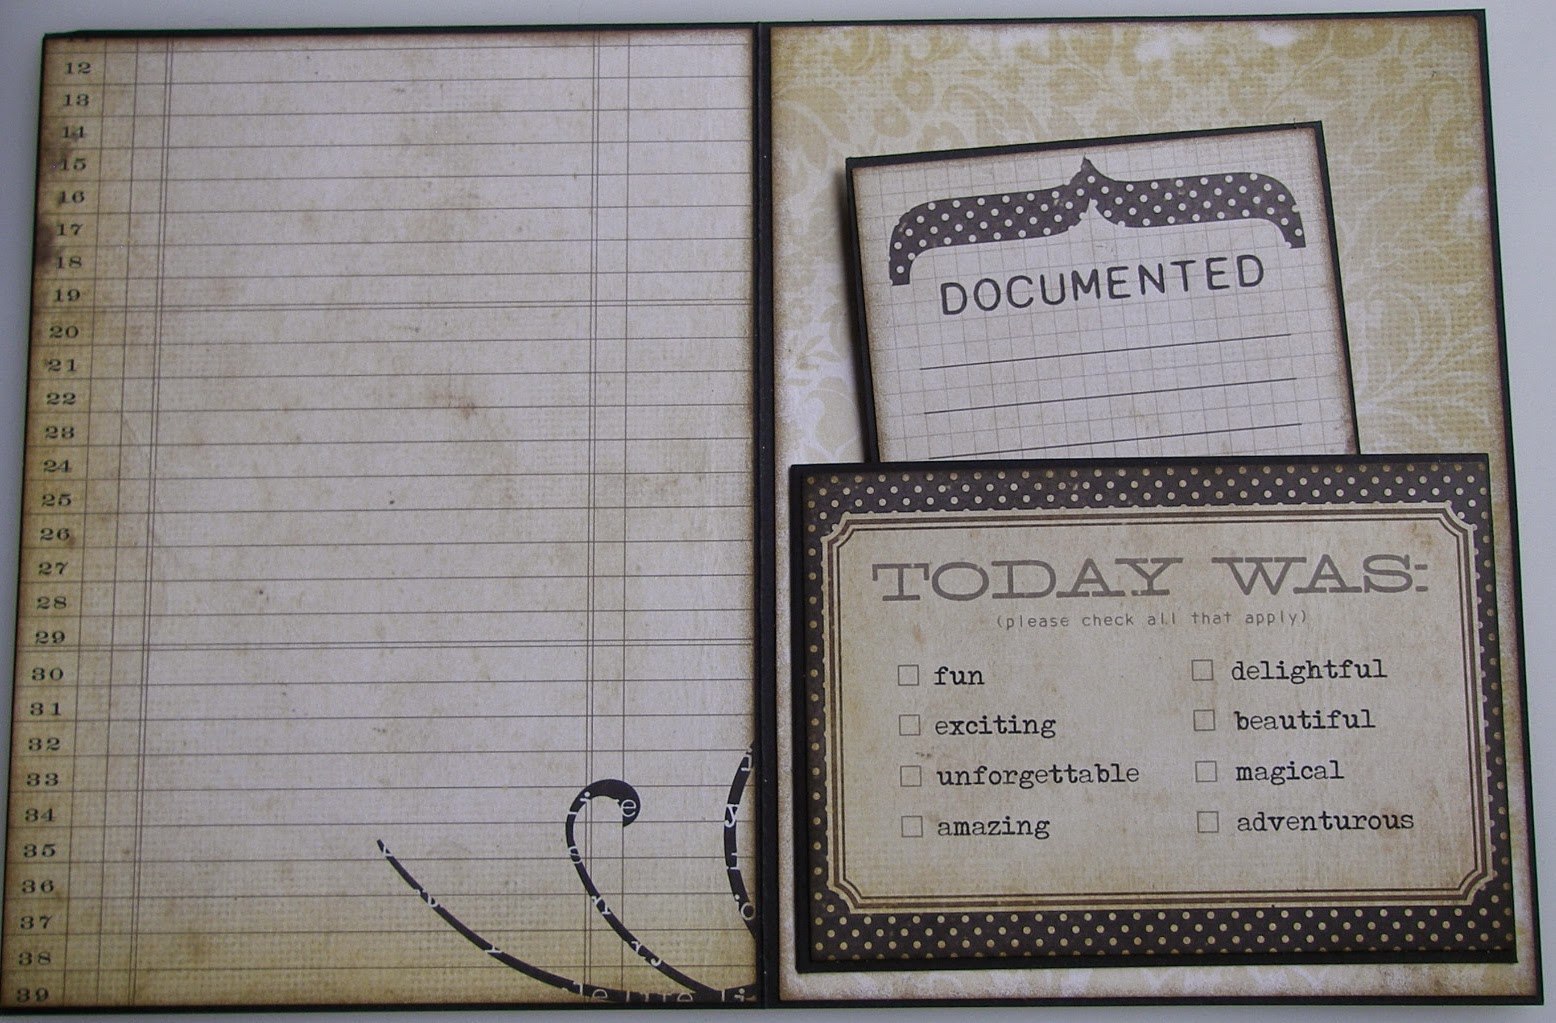
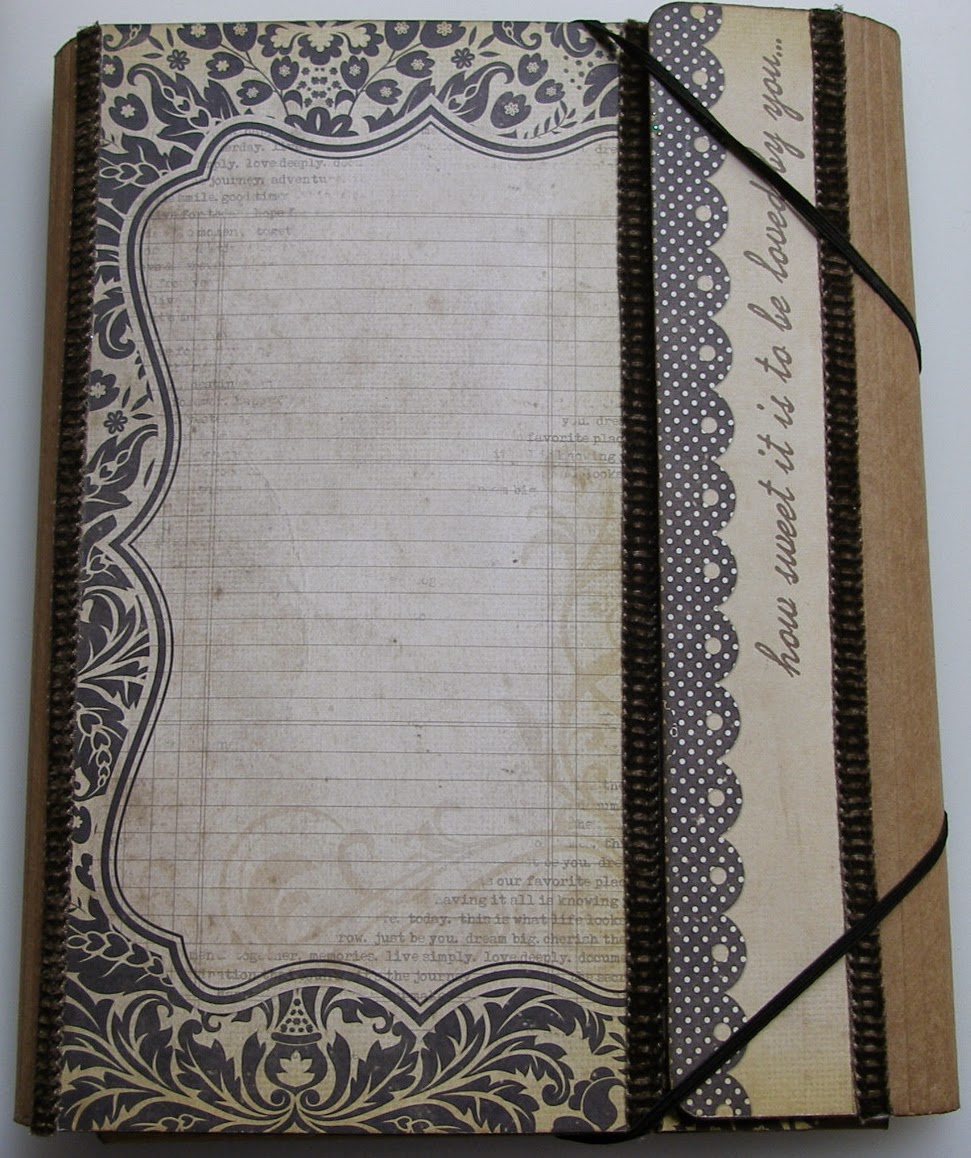
Papers used throughout: Simple Stories ~ Documented. I have used all 18 of the papers in the collection and then I purchased a further four sheets and then used the other sides to what I had already used.


The pocket on the bottom flap was created with a Sizzix Pocket Envelope die and contains a pull-out card.


The top flap is decorated with a pocket with a pull out tab. 

One side of the tab ...


... and the other side.


Inside bottom flap holds another pocket with a pull out card.


Inside top flap has another pocket created with the Sizzix die and contains a pull out tab.


I have decorated the tabs which come with the folio in a progressively wider way, so that they fall like a waterfall and so that you can see a peek of each layer underneath.


I decorated all of the pages, before I added the entire piece to my folio. For each of the tabs (except for one), I created a pocket, by sticking card to each side of the tab and then sealing across the bottom, along the stitched area and up the sides. The first tab is just a short piece and contains four pull out mini cards, two of which open up. You can see the detail of these cards on my youtube video.


The second tab is a bit larger and has been made into a pocket again. I cut up some of the papers and overlapped them slightly, when arranging them on the side of each pocket. I added a decorative brad to each side also.


The pocket has a little pull out booklet, consisting of four sides, each of which is decorated with paper.


The other side of the tab.


For the third tab, I have just decorated each side with a shorter piece of black cardstock and sealed them so that there is no pocket.

I've then added two pull out pieces.


And the back.


The fourth page is a larger pocket ...


... with a pull out photo mat ... front


... and back.


The other side of the pocket.


The fifth page is another pocket, again slightly larger. The front of the pocket contains another pocket with a pull out tag, which has been decorated on each side. The main pocket contains a pull out photo mat which is covered with paper on each side.


The other side of the pocket.


On the sixth and final tab, I have created an expanding pocket, containing three items.


There is an envelope, cut with a Sizzix die and contains two pull out photo/journaling mats.


Two pull out booklets have also been included inside the pocket.


These have been decorated on each side and each also contains a pull out booklet inside.


For the back cover, I changed the eyelets which were in there and replaced them with some nicer ones.

I've added one final pocket with a pull out photo mat.


I am entering this in at the following challenges:

Thank you for looking.

Keeley